ATA CRX 12 Coding
Coding Transmitters For CRX-1/2 Stand-Alone Receivers
SETTING RELAY OPERATING MODES
Pulse Mode – Relay contact is active whilst transmitter button is pressed. Hold Mode – Relay changes state at each press of transmitter button. Hold, Release, Hold. etc (like an on/off switch) Timer Mode – Relay will remain active for the programmed duration.

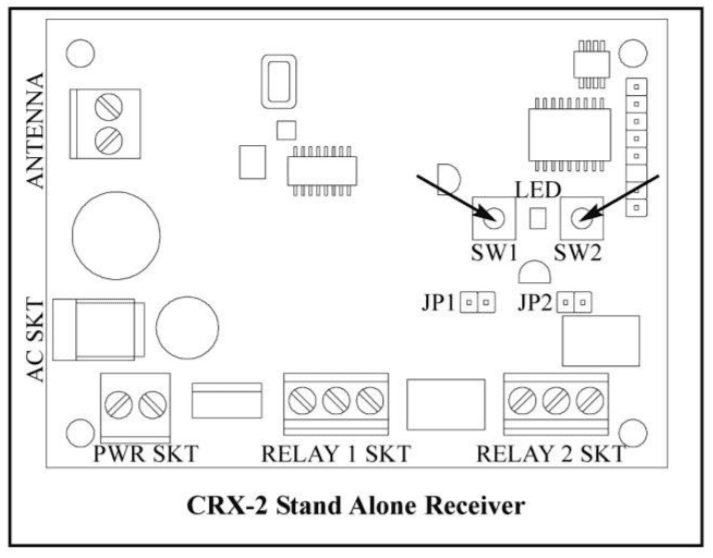
Note: Timer mode is selectable only with the ATA Programmer. Refer to the Programmer’s manual for instructions on setting Timer mode. RELAY-1 Pulse Mode – Bridge the two pins on JP1 jumper. RELAY-1 Hold Mode – Remove the JP1 jumper or do not bridge the two pinks. RELAY-2 Pulse Mode – Bridge the two pins on JP2 jumper. REALY-2 Hold Mode – Remove JP2 jumper or do not bridge the two pins.
STORING TRANSMITTER CODE
Make sure to install the battery in the transmitter correctly.
1. Press and hold SW1 (for Relay 1) or SW2 (for Relay 2) on the receiver.
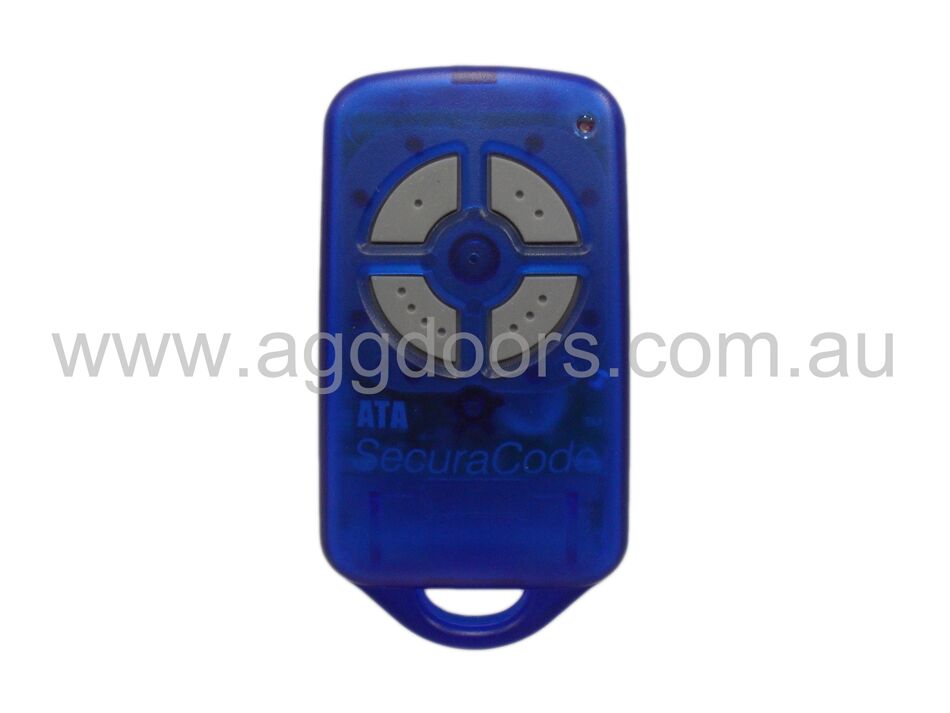
2. Press the transmitter button you would like to use to control the device for two seconds.
3. Release the transmitter button and pause for two seconds. Press the same button again for two seconds.
4. Release SW button.
5. Press the transmitter button to test operation.
Note: To remove a single transmitter’s code from the receiver memory repeat steps 1-5 above.
DELETING ALL STORED TRANSMITTER CODES
1. Turn the power off to the receiver.
2. Press and hold SWI button.
3. While holding SWI turn power on again. After 15 seconds the Coding LED will illuminate to indicate that the receivers memory has been cleared.
4. Release SW1. All the stored codes should now be deleted. Confirm this by pressing the transmitters previously used to operate the device. There should be no response.

