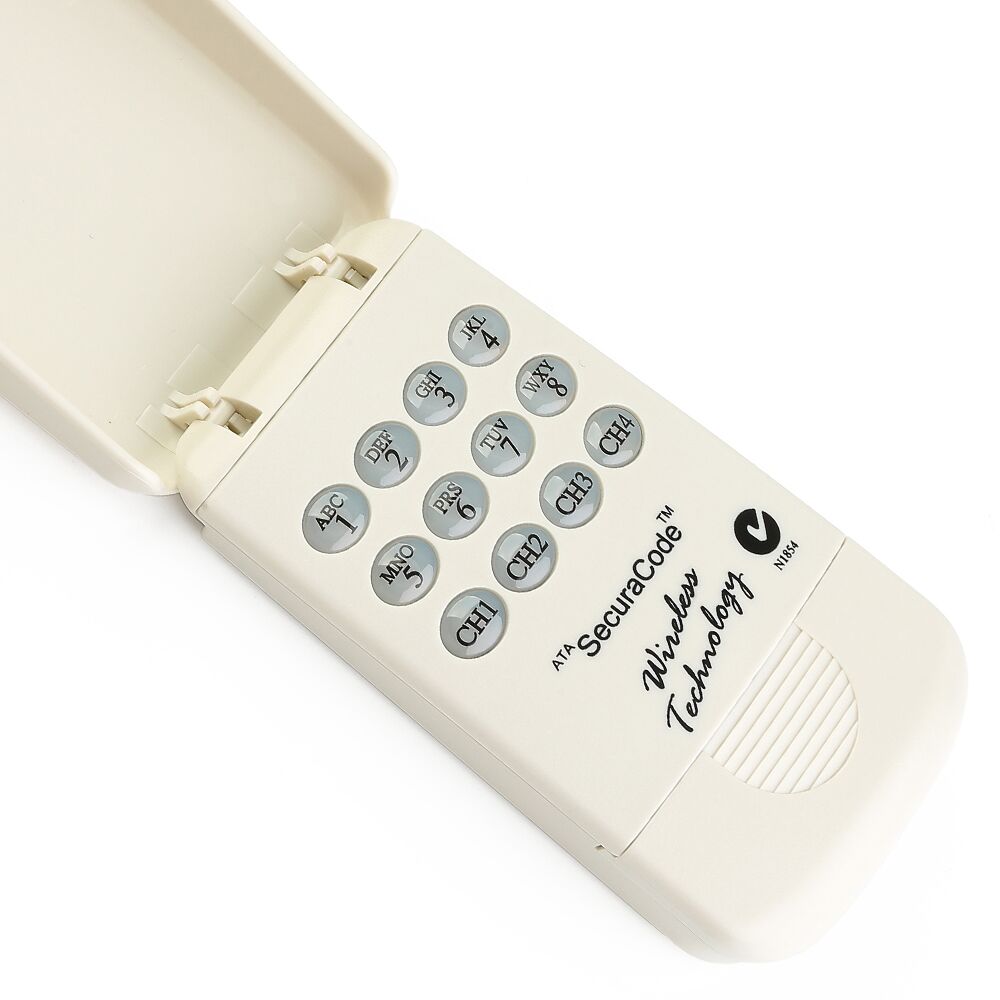
ATA KPX-5 Wireless Keypad Coding Instruction
Initial Set up for new Keypad
1. Press and hold Channel 1 (CH1) until a long beep is heard.
2. Press 1111 then CH1
3. Enter a new code then CH1
4. Repeat Step 3 (within 3 seconds) to confirm.
Coding the Keypad into the Opener
1. Press and hold the blue Door Code button on the control panel of your ATA garage door opener or SW1/SW2 on the receiver board.
2. Enter your PIN code then press one of the four channel buttons (CH1 – CH4) you wish to use to operate the door or gate etc.
3. Press the same CH button again.
4. Release Door Code or SW button. The CH button should now be stored into the opener’s memory.
5. Test operation of the Keypad. Enter a valid code followed by the stored CH button.
Note: You only need to program the CH button once as all users will have the same access privileges once a valid code has been entered.
Adding an Additional Pin Code
A user code can be any number of 4 of 8 digits except 1111 or 8888 8888.
1. Press and hold CH4 until a long beep is heard.
2. Enter any existing code followed by CH4.
3. Enter the new code followed by CH4.
4. Repeat step 4 to confirm.
5. Test operation using the new code.
Changing a stored code
One code must remain in memory for adding, changing or deleting additional codes.
WARNING: Changing a code to 8888 8888 will delete it.
Note: There is a timeout of approximately 10 seconds after the last button is pressed.
1. Press and hold CH1 until a long beep is heard.
2. Enter the code that is to be changed followed by CH1.
3. Enter the new code followed by CH1.
4. Repeat step 3 (within 3 seconds) to confirm.
5. Test operation using the new code. You should hear a continuous string of beeps.
Deleting a stored code
One code is always required for adding new/additional codes.
1. Wait for the current code to timeout (if one is entered).
2. Press and hold CH1 until a long beep is heard.
3. Enter the code that is to be deleted followed by CH1.
4. Enter 8888 8888 followed by the CH1.
5. Repeat step 4 to confirm.
6. Test operation to ensure that the deleted code does not operate the transmitter. This procedure is the same as changing the code to 8888 8888.

