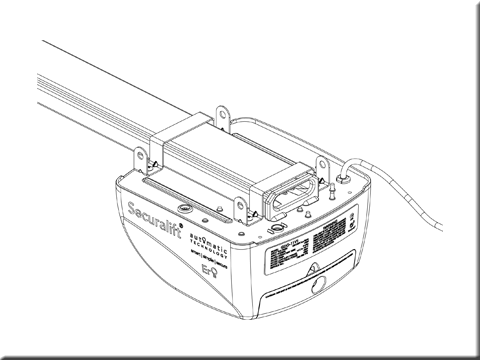
ATA GDO 11v1 Installation Sheet
Programming the Opener
Code a Transmitter for Limit Setting
a. Ensure the opener is powered up and button cover is removed.
b. Press and hold the DOOR CODE button.
c. Press Button 1 on the transmitter for two seconds. Release and pause for two seconds. Press the Button 1 again for two seconds.
d. Release the DOOR CODE button.
Setting Limits via Transmitter
a. Engage the C-Rail’s trolley (attached to the door via the arms) with the chain or belt index by moving the door.
b. If the trolley does not “click” firmly onto the chain index, pull the cord backwards until it locks in place, and try again.
c. Press and hold Button 4 on the transmitter to close the door. When the door is approx. 20mm from the ground, release Button 4.
d. Each press of Button 4 will allow you to “inch” the door closed. Keep doing this until the door reaches the desired close limit position.
e. If the door overshoots, press Button 1 to “inch” the door towards open
f. When in the correct close limit position, press Button 2 to store this in memory.
g. Press and hold Button 1 to open the door. When approx. 20mm from the desired open position, release Button 1.
h. Each press of Button 1 will allow you to “inch” the door open. Keep doing this until the door reaches the desired open limit position.
i. If the door overshoots, press Button 4 to “inch” the door towards closed.
WARNING! The door will automatically close, open and close again once the next step is performed. Ensure that no persons or objects are in the door’s path.
j. When in the correct open limit position, press Button 2 on the transmitter to store into memory.
k. The door will now automatically close, open and close to calculate the safety obstruction settings. After this, the opener can be operated with the OPERATE button.
Resetting the Door Limit Positions
Limit positions can be deleted by the following steps:
a. To reset the limits, press and hold the MINUS (-) button (on the opener) for six (6) seconds until you hear three beeps and the Close Limit LED starts to flash.
b. Release the MINUS (-) button.
c. Repeat ‘Setting Limits’ processes to set new travel limit positions.
Setting the PET Mode position
When activated, PET mode drives the door to the preset position from the close position.
a. Drive and stop the door at the deisred PET mode open position by pressing the transmitter button coded for Open/ Stop/Close operation.
b. Press and hold the PLUS (+) button on the opener for six(6) seconds until you hear three beeps and the OPEN and CLOSE LED’s flash rapidly.
c. Press the SET button to record the new position.
Auxiliary Output
The auxiliary output can be used to control alarm or another garage door opener. A valid transmission from the precoded transmitter will cause the auxiliary output to pulse for approximately 1 (one) second. The maximum DC voltage must not exceed 35 volts DC. Maximum current must not exceed 80 ma.

